Cornish WebServices
Consultancy Ltd
21
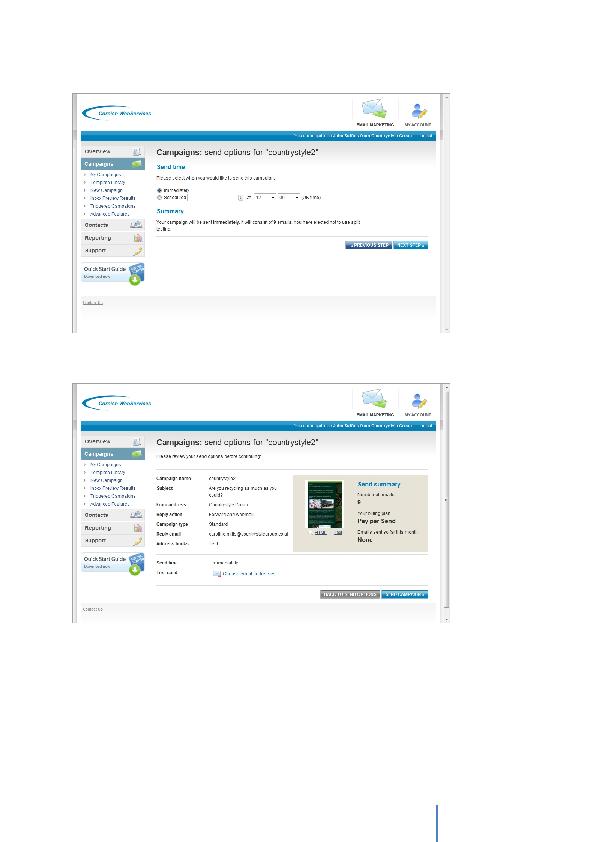
You now need to specify when you want the Campaign sent.
Check the Immediately box if you want the Campaign to go now or set a date and time for it
to be sent in the future by checking the Scheduled box. When ready click on the `Next Step'
button. The Campaign settings are displayed for you to review.
When ready click the `Send Campaign' button. A final confirmation warning is displayed.
Click on OK to execute the Campaign.
The Campaign is moved to the Outbox while processing occurs and this is shown by the
indicator displayed under the Status column. Once completed, the Campaign will appear
under the Sent tab.